3-Way Switch Wiring for Home Lighting: Troubleshooting and Switch Selection
Most 3-way switch lighting problems happen when a traveler wire is swapped with the dark Common terminal, a push-in backstab wire loosens, or an incompatible LED bulb is paired with a dimmer. Turn off the circuit breaker, verify zero voltage with a tester, and match switch ratings and bulb types to your lighting circuit.
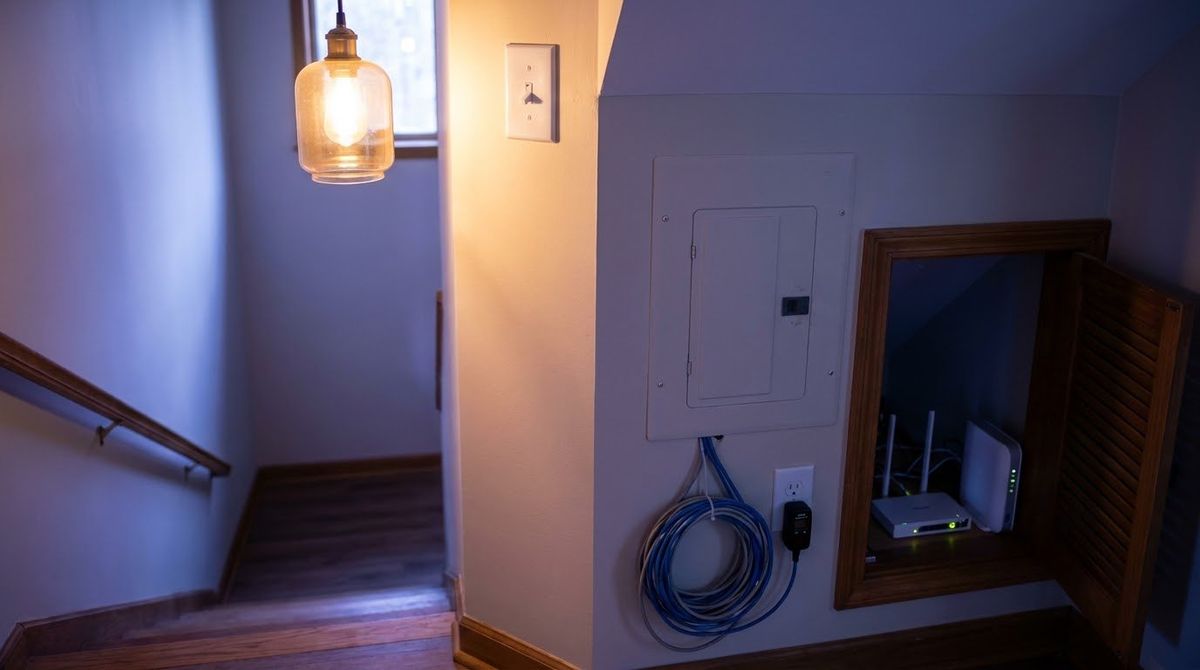
Belongs to the guide: 3-Way Switch Wiring Diagram and Step-by-Step Install Guide
Electrical Safety Disclaimer: This guide provides general educational information and is not a substitute for a licensed electrician or your local authority having jurisdiction (AHJ). Electrical work carries risks of fire, electric shock, and death. Always follow your local adopted edition of the National Electrical Code (NEC 2017, 2020, or 2023) and local amendments.
Troubleshooting 3-way switch wiring in home lighting starts with separating wiring errors from bulb, load, and hardware problems. When a hallway or staircase light refuses to turn on from one end, flickers at low brightness, or only works when the opposite toggle is flipped up, the cause is almost always a swapped Common wire, a loose backstabbed conductor, or an incompatible LED dimmer pairing. Before replacing parts or guessing at wire colors, consult our 3-way switch wiring diagram and install guide for full terminal layouts.
Safety First: When to Troubleshoot vs. When to Call an Electrician
Turn off the circuit breaker, lock or tag the panel, and confirm zero voltage with both a non-contact voltage tester and a multimeter before opening any switch box. The Electrical Safety Foundation International (ESFI) advises shutting off power at the breaker, testing that the circuit is de-energized, and using lockout/tag; its switch guidance also says all light switches should be installed by a professional. Never assume a switch box is de-energized just because the ceiling light is off, and know where your skill stops: if the wiring does not match what you expect, call a licensed electrician (many jurisdictions require a permit for new wiring).
Stop troubleshooting and call a licensed electrician immediately if you observe any of these ESFI Switch to Safety warning signs:
- Warm or hot wallplates: A switch or cover plate that feels warm to the touch signals resistance heating from a loose splice, worn switch contact, or overloaded circuit.
- Discoloration or burning odor: Brown scorch marks around the toggle or a sharp plastic/ozone smell when flipping the switch indicate arcing behind the wall.
- Crackling, popping, or buzzing: Mechanical switches should click cleanly; arcing sounds inside the box are a fire hazard.
- Frequent breaker trips or shocks: Feeling any tingle at the switch or having a breaker trip when toggling the light requires immediate professional diagnosis.
- Aluminum wiring: Homes over 40 years old with aluminum branch-circuit wiring (primarily installed in the late 1960s and early 1970s) require specialized connectors and periodic inspection by a qualified electrician—standard copper-only switches must never be attached directly to aluminum wire.
Symptom 1: Light Only Works When One Switch Is in a Specific Position
If a light turns on and off normally from Switch A only when Switch B is flipped one way—and goes completely dead when Switch B is flipped the other way—a Common wire and a Traveler wire are swapped.
In a properly wired 3-way circuit, flipping either switch transfers power from one traveler wire to the other, so the light changes state regardless of the other switch’s position. When an installer accidentally lands the incoming hot wire (Line) or the outgoing fixture wire (Load) onto a brass traveler screw instead of the dark COM screw, one throw of the switch disconnects the circuit entirely.
How to Diagnose and Fix a Swapped Common Wire
- Turn off the breaker and verify dead at both switch boxes with your voltage tester.
- Inspect Switch 1 and Switch 2: Pull each switch gently out of the box without disconnecting wires yet. Look closely at the dark-colored
COMscrew on each switch. - Trace the cable paths: In a standard power-at-switch circuit, one box has a 2-wire cable from the breaker (black/white) and a 3-wire cable going to the second switch (black/red/white). The black wire from the 2-wire power cable belongs on the dark
COMscrew; the black and red wires from the 3-wire cable belong on the two brass traveler screws. - Check the second box: At the load box, the black wire from the 2-wire cable going to the light fixture belongs on the dark
COMscrew, and the black and red wires from the 3-wire cable belong on the two brass traveler screws. - Re-terminate and test: Move the miswired conductor to the dark
COMscrew, tighten all terminals firmly, restore power, and test all four switch combinations. If the wires in your wallbox do not match a standard 2-wire/3-wire layout, see our wire layouts guide or call a licensed electrician.
Symptom 2: Lights Flicker, Buzz, or Glow When Switched Off
Flickering on a 3-way lighting circuit is caused by either a loose mechanical connection (most often a push-in backstab terminal) or an incompatible LED bulb and dimmer combination.
Checking Mechanical Connections (Backstabs vs. Screw/Lever Terminals)
Older toggle and rocker switches frequently used spring-loaded push-in holes (“backstabs”) on the back of the device. Over years of thermal expansion and contraction, those internal springs can lose tension on #14 AWG copper wire, causing intermittent flickering when someone walks heavily across the floor or bumps the wallplate.
With the power off and verified dead, pull the switch out and check whether wires are pushed into backstab holes. Replace worn switches with a UL/Intertek/CSA-listed switch and terminate the conductors using the side-wire screw terminals, back-wire pressure plates, or lever-clamp terminals (such as the Leviton E5603, which uses color-coded levers and a built-in 9/16 inch strip gauge for #12 or #14 AWG copper wire).
Fixing LED Dimmer Flicker and Ghosting
If your 3-way circuit includes a dimmer, flickering, shimmering, or bulbs that glow faintly when turned off usually point to compatibility or trim settings:
- Confirm bulbs are dimmable: Leviton notes that mismatched LED and dimmer pairings can cause buzzing or humming, flickering or strobing, and a poor dimming range. Check the bulb packaging for the word “dimmable,” as highlighted in the ENERGY STAR Guide to Dimmable LED Lighting.
- Do not mix bulb types: Per Leviton’s 6674N LED Slide Dimmer instructions, never mix LED and incandescent/halogen bulbs on the same dimmer; using the exact same make and model of LED bulb across a multi-bulb fixture improves stability.
- Use only one dimmer per 3-way circuit: Leviton’s instructions say to use only one dimmer in a 3-way or 4-way circuit. Keep one standard mechanical 3-way switch at the second location, or use a matched smart dimmer and companion switch.
- Adjust the low-end trim: Modern LED dimmers include a minimum-brightness adjustment (setup switch or dial) so you can raise the lowest dim level just above the point where the LED driver flickers or drops out.
For a full breakdown of LED phase dimming and bulb matching, read our dimmer switch compatibility guide.
Symptom 3: Neither Switch Turns the Light On
When both 3-way switches fail to turn on the fixture, check the circuit breaker, the light bulb and fixture socket, and the neutral splice inside both switch boxes.
- Check the breaker panel: Look for a tripped breaker (often sitting halfway between ON and OFF). Reset it once by switching it fully OFF, then ON. If it trips again immediately, leave it OFF and call a licensed electrician—do not keep resetting a tripping breaker.
- Test the bulb and fixture: Confirm the bulb works in a known-good lamp. A burned-out LED driver or loose socket tab can mimic a dead switch.
- Inspect splices with power OFF: After turning off the breaker and verifying zero voltage, check the wire-nutted white neutral bundle inside both switch boxes and the ceiling box. A loose neutral wire nut breaks the return path for the entire lighting circuit even if the hot and traveler wires are landed properly on the switches.
Choosing the Right 3-Way Switch for Home Lighting
Select a 3-way switch based on your circuit’s amperage (15A vs. 20A), your bulb type (on/off vs. dimmable LED), whether a neutral wire is present in the box, and your wallplate style.
| Switch Option | Best Use Case | Neutral Required? | Key Rating / Rule to Check |
|---|---|---|---|
| Standard 3-Way Toggle or Rocker | Reliable on/off control for hallways, stairs, and garages | No (spliced in box) | Check the label: for example, the Leviton E5603 is 15A 120/277V AC and copper wire only; look for a UL/Intertek/CSA mark |
| 3-Way LED Slide Dimmer | Living rooms, dining rooms, bedrooms with dimmable LEDs | Model-dependent (e.g., 6674N requires neutral; 6674 does not) | Check the label: the Leviton 6674N is 150W LED / 300W incandescent at 120V; only one dimmer per 3-way circuit |
| Smart Wi-Fi 3-Way Switch | App/voice control, schedules, and away-from-home lighting | Usually yes (check model; no-neutral retrofits exist) | Must pair with compatible wired or wireless companion switch |
| Motion / Occupancy 3-Way | Laundry rooms, mudrooms, closets with two entries | Usually yes (check ground-only models) | Verify minimum load and NEC 404.2(C) compliance |
Always look for a recognized testing laboratory mark—UL, Intertek (ETL), or CSA—on any switch or dimmer you buy, as recommended by ESFI. Avoid uncertified online imports that lack third-party safety testing. When choosing between rocker (Decora-style) and traditional toggle switches, remember that standard wallplates and “midway” oversized wallplates differ in dimensions; check whether your switch strap has break-off tabs for standard plates. For help comparing styles and smart options, see our light switch buying guide and our 3-way switch wiring tips and checklist.
| Symptom | Most Likely Cause | DIY Check (Power Off & Tested) | When to Call an Electrician |
|---|---|---|---|
| Light works only when one switch is in a specific position | Common wire swapped with a traveler wire | Verify Line/Load wire is on dark COM screw | Unlabeled wires in a multi-circuit box |
| Light flickers when switch is bumped or dimmed | Loose backstab wire or non-dimmable LED | Move wires to side screws; check bulb label | Arcing, buzzing, or flickering across rooms |
| Switch feels warm, smells burnt, or trips breaker | Loose connection, overload, or short circuit | Do not reset repeatedly; leave breaker OFF | Immediately—possible fire hazard |
| Light stays dimly lit when switched off | Incompatible smart/no-neutral dimmer or leakage | Check dimmer compatibility list and neutral | If stray voltage persists with switch removed |
Swapped traveler/common wires and incompatible LED bulbs are straightforward fixes once power is verified off. Any sign of heat, arcing, aluminum wiring, or tripping breakers requires a licensed electrician.
Answers to common questions
Why does my 3-way light only turn on when the other switch is flipped a certain way?
Your 3-way light only works in one switch position because the Common wire and one of the traveler wires are swapped on at least one switch. When the incoming hot wire or the outgoing fixture wire lands on a brass traveler screw instead of the dark Common screw, power cannot reach the second traveler path. Shut off the breaker, verify zero voltage, and move the Common wire back to the dark COM terminal.
Why do my LED lights flicker on a 3-way switch circuit?
LEDs flicker on a 3-way circuit for three main reasons: a loose push-in wire connection on an older switch, a non-dimmable LED bulb connected to a 3-way dimmer, or mixing different bulb types or brands on the same fixture. Per Leviton dimmer instructions, all bulbs on one dimmer should be the same type (all LED or all incandescent), and using the same make and model enhances performance. Confirm every LED is dimmable.
Can I replace a 15-amp 3-way switch with a 20-amp switch on a 15-amp circuit?
Rely on the rating printed on the switch and in its instructions: Leviton's Lever Edge E5603, for example, is rated 15A at 120/277V and accepts #12 or #14 AWG copper wire only. Choose a switch whose rating meets the circuit's load and your local code, and confirm the choice with a licensed electrician if you are unsure which rating your circuit requires.
Why is there a buzzing sound coming from my 3-way light switch?
A faint hum on a dimmer can come from phase-cut dimming electronics or incompatible LED drivers, but a crackling, popping, or buzzing sound from a standard mechanical switch indicates a loose wire or worn internal contacts creating electrical arcs. Per ESFI safety guidance, turn off the breaker and have a qualified electrician inspect any switch making crackling or buzzing noises.
Can I use any brand of 3-way switch to replace an old one?
Yes, standard mechanical 3-way switches from major manufacturers that carry a recognized testing laboratory mark such as UL, Intertek, or CSA can generally replace one another when the ratings and terminal layout fit. Match the amperage rating to your circuit, confirm whether you have copper or aluminum wiring, and follow the new switch's terminal labeling rather than assuming screw positions match the old device.
Evidence and sources
- ESFI: Switch to Safety Electrical Inspection Checklist (esfi.org)
- ESFI: Do-It-Yourself Home Electrical Safety Fact Sheet (esfi.org)
- Leviton Lever Edge E5603 3-Way Switch Installation Instructions (leviton.com)
- Leviton 6674N LED Slide Dimmer Installation Instructions (leviton.com)
- Leviton Support: LED Compatibility Resource (preview.leviton.com)
- ENERGY STAR: Your Guide to Dimmable LED Lighting (energystar.gov)
- 3-Way Switch Wiring Diagram and Step-by-Step Install Guide
Clear 3-way switch wiring diagrams for power-at-switch and power-at-light circuits, terminal ID, NEC safety rules, and step-by-step installation.
- 4-Way Switch Wiring Diagram: Control One Light From Three Places
How a 4-way switch works with two 3-way switches to control one light from three or more places, with a layout, wiring steps, box fill and troubleshooting.
- Easy 3-Way Switch Wiring Tips, Mistakes to Avoid, and Safety Checklist
Avoid common 3-way switch wiring mistakes—like swapping Common and travelers or backstabbing wires—with this pro-level tips and pre-power checklist.
- Master Your Lighting: Where 3-Way Switches Fit Best in Your Home
Learn where 3-way switches belong—stairs, hallways, multi-entry rooms, and garages—plus NEC 210.70 rules and wireless retrofit options.
- Easy Three-Way Switch Wiring Layouts: Power at Switch vs. Light vs. Dimmer
Compare three-way switch wiring layouts: power at switch, power at light fixture, and 3-way with a dimmer, including 2-wire vs. 3-wire cable runs.
- Brighten Your Home With the Right Light Switch: Types, Styles, and Smart Options
Compare toggle, rocker, dimmer, timer, motion sensor, and smart light switches—plus UL safety marks, neutral wire rules, and wallplate sizing.